How to Deploy a TypeScript Application to Platformatic Cloud

Platformatic Cloud offers developers a robust cloud environment for deploying Node.js applications. With pull request previews, rapid deploys, and built-in observability, it ensures a smooth development-to-production workflow and provides a robust foundation for rapid development and continuous integration.
Meanwhile, Platformatic Service allows developers to easily set up a customizable Node.js API atop the Fastify Framework, with automatic TypeScript compilation, in-built Prometheus metrics, live reloads, OpenAPI schema and third party API generation and GraphQL integration.
In this article, we will explore how to deploy a TypeScript application built with Platformatic DB, a tool that simplifies API development by automatically generating OpenAPI and GraphQL documentation from your database using Platformatic Cloud.
Setting up the Development Environment
Prerequisites
Before diving into the Platformatic Cloud, ensure you have the following installed on your local machine;
Node.js >= v18.8.0 or >= v19.0.0
A code editor (e.g., Visual Studio Code or Sublime Text)
Create a New TypeScript Project
To create a new Platformatic TypeScript project using the Platformatic CLI;
1. Open your terminal and run the following command:
npm create platformatic@latest
2. The CLI will initiate an interactive command-line tool to guide you through the project setup process. For this guide, select the following:
- Which kind of project do you want to create? => Service
- Where would you like to create your project? => Platformatic-Cloud
- Do you want to use TypeScript? => Yes
- Do you want to install dependencies? => Yes (this may take a while)
- Do you want to generate types? => Yes
- Do you want to create the GitHub action to deploy this application to Platformatic Cloud dynamic workspace? => No
- Do you want to create the GitHub action to deploy this application to Platformatic Cloud static workspace? => No
Once the installation wizard completes, you will have a Platformatic TypeScript app project created in the "Platformatic-Cloud" folder, which will include sample migration files and a sample plugin script.
To navigate to the project directory using the VS Code terminal, use the following command:
cd Platformatic-Cloud
Starting your API Server
Run the following command to start your API server:
npm start
Creating a Platformatic Cloud application
To ensure the smooth deployment of your TypeScript application to Platformatic Cloud, log in to https://platformatic.cloud and grab your API keys.
Once you’ve logged in, click on “Create an App”.
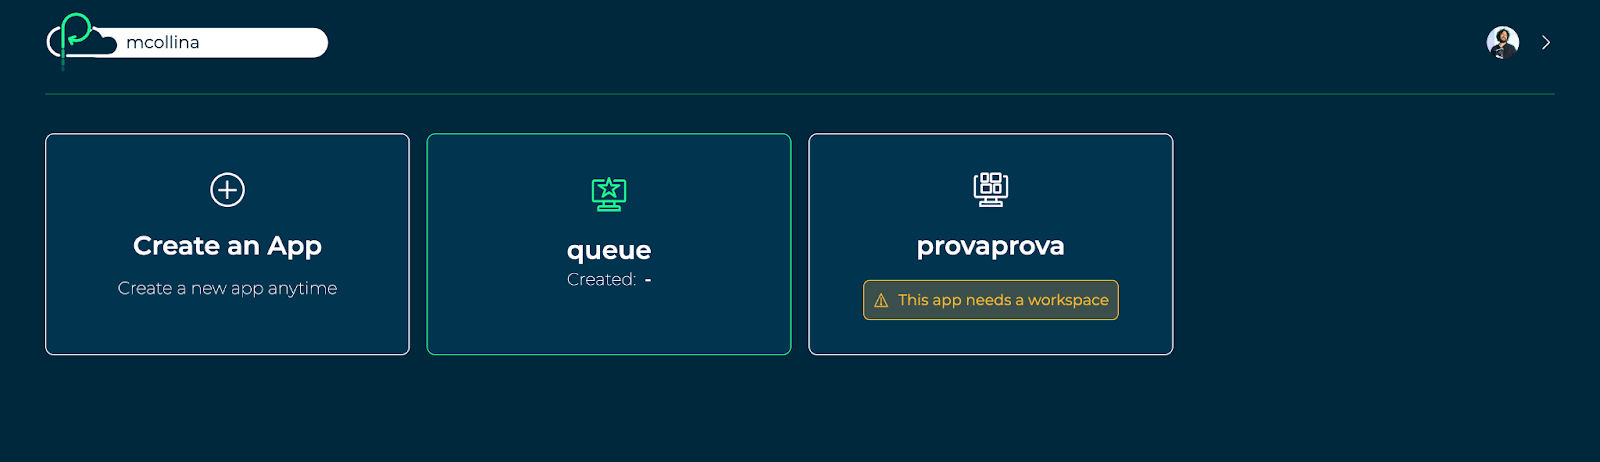
In this tutorial, we will use the command line to deploy, going through the manual step.
You will then need to name your application in the following screen shown below:

Then, create a Workspace– this is the security boundary of your deployment, and how Platformatic restricts the credentials of your application.

\ Note that in this scenario, we will not select a Dynamic Workspace as this would create a new URL for each deployment (this is useful when providing environments for testing or pull request previews.)*
Once you have created your application and your workspace, you can download the credentials:

This will download a file called “main.plt.txt”.
Store this carefully as it contains the deployment credentials for your application.
Running Platformatic Deploy
The next step is to run the platformatic deploy command:
➜  plt deploy -k path/to/main.plt.txt
[12:34:30] WARN: Move platformatic dependency to devDependencies to speed up deployment
[12:34:30] INFO: Found Platformatic config file: platformatic.service.json
[12:34:31] INFO: Typescript compilation completed successfully.
[12:34:32] INFO: Project has been successfully archived
[12:34:35] INFO: Uploading bundle (206 MB) to the cloud...
[12:36:35] INFO: Bundle has been successfully uploaded
[12:36:37] INFO: Application has been successfully deployed
[12:36:37] INFO: Starting application at https://aloof-rotten-striped-board.deploy.space
[12:37:18] INFO: Application has been successfully started
As you can see, your application will have a unique *.deploy.space domain name.
Let’s confirm that our application was deployed successfully:
➜  curl https://aloof-rotten-striped-board.deploy.space

{"hello":"foobar"}
Wrapping up
In this blog, we explored how to deploy a TypeScript application built with Platformatic DB to Platformatic Cloud, and saw how Platformatic’s Cloud environment provides a seamless development-to-production workflow.
By following this step-by-step guide, you should now understand how to create a new TypeScript project using the Platformatic CLI, how to start the API server, and how to deploy your application to Platformatic Cloud. You should also now feel comfortable creating Platformatic applications and workspaces, securing credentials, and running the platformatic deploy command for smooth deployments.
The combination of Platformatic Cloud, DB and Platformatic Service offers a powerful foundation for rapid development, continuous integration, and streamlined backend development.
For any questions you encounter while following this guide, or to simply join our community, find us on Discord.