Handling Environment Variables in Node.js
Environment variable configuration is crucial for effective secret management and following of best practices such as the twelve-factor methodologies.
This is why we recently hosted a masterclass exploring why managing configurations is important, how to distinguish between environments, the risks of using NODE_ENV, Node.js configuration best practices and more.
Watch the full masterclass here:
In this blog, we’ve recapped the key takeaways from this class, focussing specifically on providing an in-depth guide of NODE_ENV, how to use Fastify secret management plugins, and ultimately how Platformatic natively supports environment variables.
The Twelve-Factor Methodology
Software development requires engineers to pay close attention to best practices to build web applications in the most secure and scalable way.
Twelve-Factor is a methodology for building modern software, especially Software-as-a-Service (SaaS). This methodology specifically deals with software products' backend development and development operations.
Using the Twelve-Factor methodology in an application offers the following benefits:
Easy onboarding of new developers, empowered by the use of declarative formats during setup automation
Seamless relationship of the codebase with the underpinning operating system
Ease of deploying on the cloud
A close relationship between development and production
Application scalability
The Twelve-Factor methodology also touches on the subject of configuration, stating that configurations should be stored within the environment.
This subsequently raises the question– what is an environment?
What is an environment in software development?
A development environment is a digital platform or a system where engineers can build, test, deploy, and manage software products in production. The process of creating a new software product, also known as the Software Development Life Cycle, occurs within environments.
Conventionally, there are four stages or types of environment:
Development
Testing
Staging
Production
The development phase is where the product is built from scratch, and the engineers can make changes as may be required. Nowadays, engineering teams utilize version control systems and integrated development environments such as VS Code or Notepad++ during this phase.
The team tests the code to ensure all the functionalities work as expected at the testing phase. Apart from functionalities, the application's security will also be tested to ensure it can withstand threat attacks to a large extent.
Once an application has passed this stage, it moves to the Staging phase. The main difference between the testing and staging phase is that in the latter, the application will be tested within the context of how it works in production.
The staging phase is a mock-up of the production. It helps to cross-check everything to correct or improve before pushing to production, where the end-users can access the application and use it in real-time.
What are environment variables?
Environment variables are values that can affect the performance of an application. They are not predefined but are rather defined by the engineer building or maintaining the software, and they often appear in the key-value pair format.
It is encoded as ENV, which is initialized with process.env, across a codebase. At execution, the environment processes the actual value of the encoded ENV.
There are three main reasons for environment variables:
They make it easier to reference and use configuration details across a codebase
Once the configuration details are modified in the config file, it reflects across the application
Security of configuration details, to a certain extent
The third reason, security, is questionable because the container runtime plainly stores environment variables, which makes it vulnerable to data breaches.
So how can you handle this vulnerability? By using secret management systems.
Secret Management with Fastify
Plainly placing your configuration details endangers your application’s security. But with the help of secret managers, your configuration data will be encrypted outside of your infrastructure.
This places extra layers of security on the application’s configuration. This is where Fastify, a popular Node.js framework, comes in as an avenue to use secret managers.
NearForm created some modules to use Fastify Secret with AWS, HashCorp Vault, Azure Key Vault, and Google Secret Manager. Here is an example of how to use Fastify with AWS Secret Manager:
import Fastify from 'fastify'
import FastifySecrets from 'fastify-secrets-aws'


const fastify = Fastify()


//loads the current user with the AWS SDK


await fastify.register(FastifySecrets, {
    secrets: {
        dbPassword: 'your-secret'
    }
})


// not to be printed
console.log(fastify.secretss.dbPassword)
Validating Environment Variables
After inputting configuration details, we must ensure they are correct at runtime. A good way to do so is by validating environment variables.
Various libraries can help handle this, including env-schema, Zod, and Typebox.
For example, env-schema is a library that validates environment variables in line with a pre-defined schema. From another perspective, it helps engineers parse JSON schemas and use the JSON schemas to validate their environment variables.
Below is a code example showing how to write env-schema:
import envSchema from "env-schema"
import { parseArgs } from 'node:util'
import { hello } from './hello.js'

const schema = {
  type: "object",
  properties: {
    HELLO: {
      type: "string"
    }
  },
  required: ["HELLO"]
}

const config = envSchema({
  schema,
  dotenv: true
})

const parsed = parseArgs({
  args: process.argv.slice(2),
  options: {
    name: {
      type: 'string',
      short: 'n'
    }
  }
})

hello(config, parsed.values.name)
A major flaw of env-schema, however, is that it is not type-friendly.
Typebox is another alternative for developers who would not want to trade-off type-friendliness when validating environment variables with env-schema.
Below is an example of how to use Typebox with env-schema:
import { envSchema } from 'env-schema'
import { Static, Type } from '@sinclair/typebox'

const schema = Type.Object({
  PORT: Type.Number({ default: 3000 })
})

type Schema = Static<typeof schema>

const config = envSchema<Schema>({
  schema
})
We imported env-schema and the typebox library. Then declare the type object of the schema and its port number. We made the type static, and later configured the schema.
The third option to validate environment variables is the Zod package, which is also type-safe. Here is how to configure Zod and use ConfigSchema.
import { z } from 'zod'


export const ConfigSchema = z.object({
    HELLO: z.string()
})


export type Config = z.infer<typeof ConfigSchema>
What is NODE_ENV?
NODE_ENV is an environment variable that is used to configure a Node.js application. It can be a key, value, or both.
Security is crucial in software development, and certain data must not be exposed in order to avoid the application being compromised. This data can be an API key or a private key to a wallet.
This is why Node.js has a core module called process, which in turn has a property named env. This module handles NODE_ENV for applicational configuration and usage.
At production or when using version controls, engineers will often this environment variable to gitignore so its plain values won’t be available for security reasons.
In other cases, some engineers will set their NODE_ENV to staging, or production.
Setting NODE_ENV to various stages of development is, however, a recipe for disaster. So what is the best way to handle this?
Set NODE_ENV=Production For All Environments
The main idea behind the 4 stages of development is to be as close as possible to production to catch bugs. By setting NODE_ENV=staging, it takes it farther away from production.
Therefore, it is counter-productive to set NODE_ENV to staging. A better alternative is to enable feature by feature. Here is an example for better understanding.
if (process.env.MY_AWESOME_FEATURE === 'true') {
    // enable feature by feature
}
In the snippet above, we are not environment-specific but rather more specific about the feature we want to enable.
Demo: Node Configuration with Platformatic
Platformatic has built-in support for environment variables. You can use Platformatic Service for this purpose, follow these steps:
Set Up Your Project
Start by setting up your project. If you haven't already, create a new Platformatic Service Project using the command:
npm create platformatic@latest
You will be prompted with a series of questions. Answer them as follows:
Hello User, welcome to Platformatic 1.16.0!
 Let's start by creating a new project.
? Which kind of project do you want to create? Service
? Where would you like to create your project? .
[18:33:10] WARN: Directory C:\Users\USER\plt is not empty. Some files may be overwritten without confirmation.
? Confirm you want to use C:\Users\USER\plt directory? yes
? Do you want to use TypeScript? no
? What port do you want to use? 3042
? Do you want to create the github action to deploy this application to Platformatic Cloud? no
? Do you want to enable PR Previews in your application? no
? Do you want to init the git repository? no

✔ Installing dependencies...

All done! Please open the project directory and check the README.

To start your application run 'npm start'.
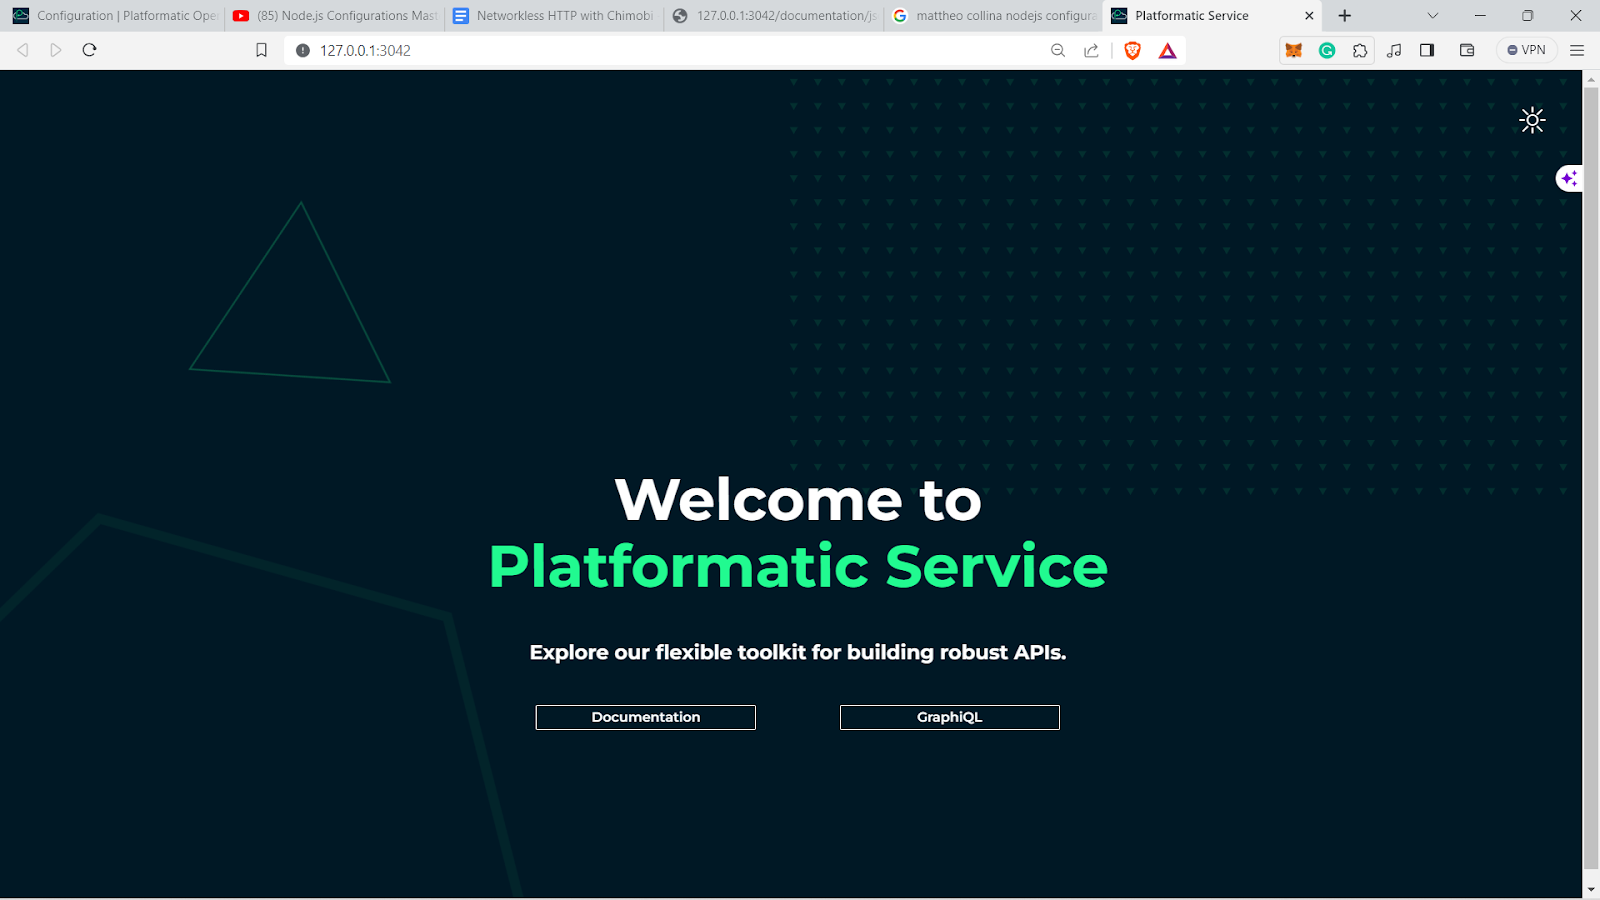
Start the Application
To start your application, run:
npm start
This will fire up your server on port 3042.

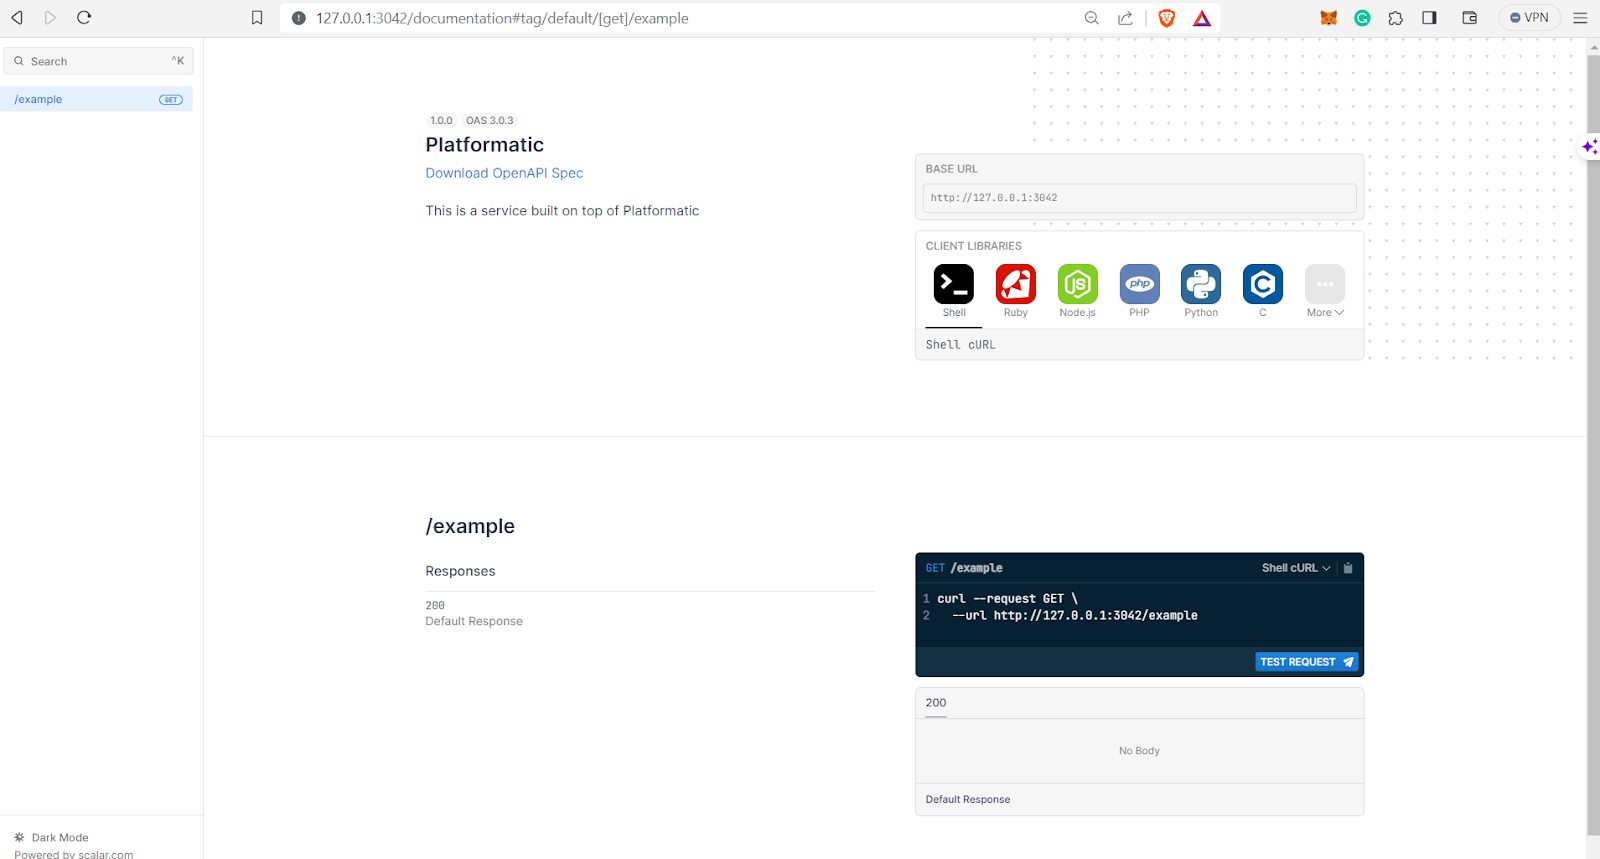
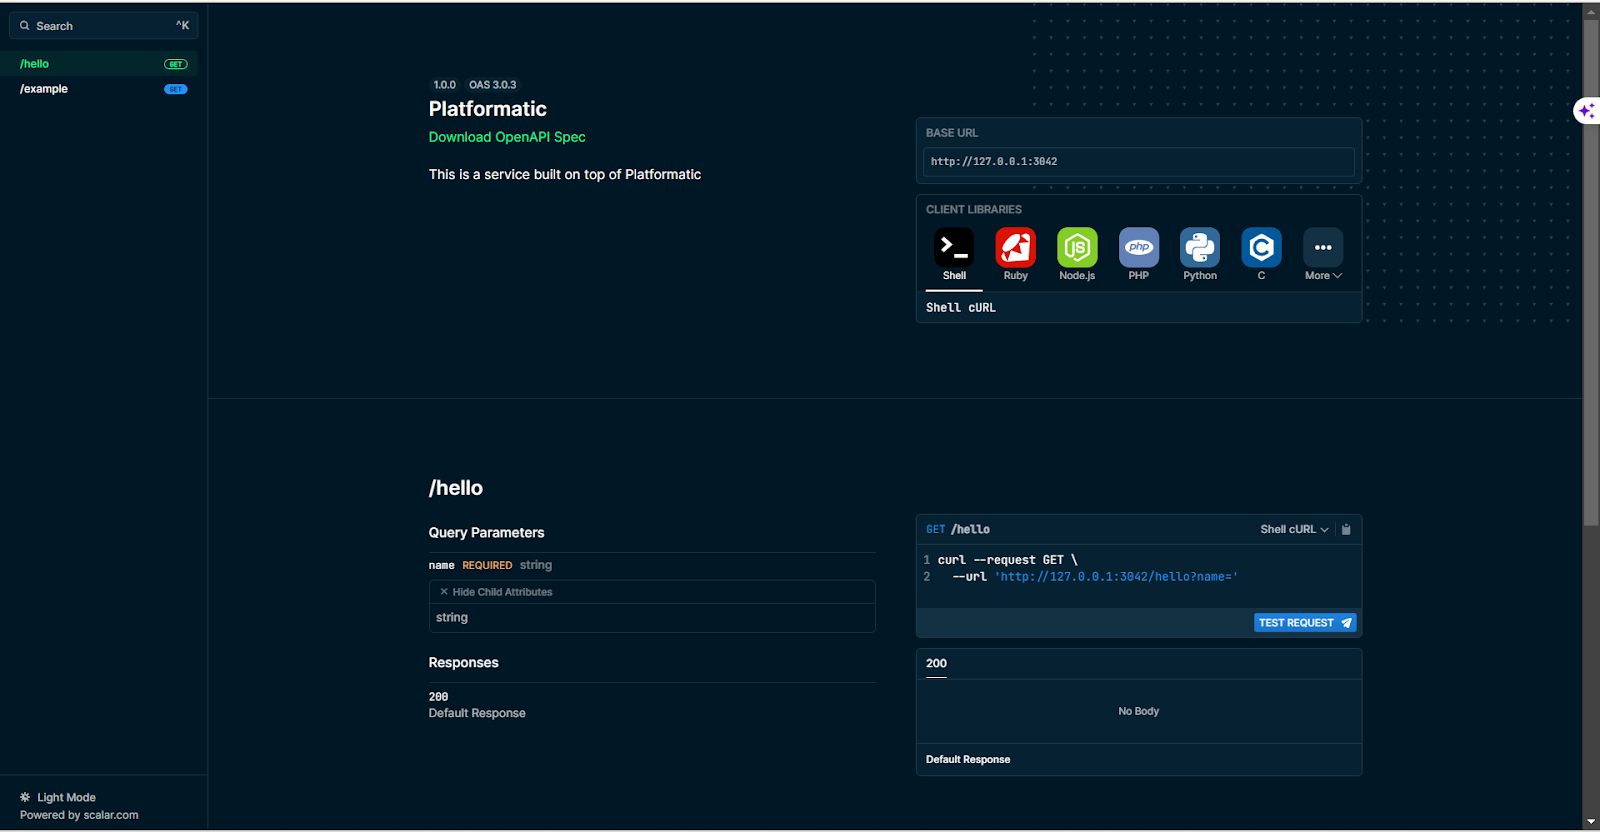
Test the Application
To test your application, make a GET request to the /example route. Access the OpenAPI documentation interface in your browser at “http://127.0.0.1:3042/documentation#tag/default/”
Add an Environment Variable
In your project structure, navigate to the .env file and add:
PLT_GREETING=hello
So that your .env file looks like this

Update Configuration
Modify your platformatic.service.json configuration file to include the greeting option under the paths object:
"options": {
          "greeting": "{PLT_GREETING}"
        }
So that your platformatic.service.json file looks like this
{
  "$schema": "https://platformatic.dev/schemas/v1.13.1/service",
  "service": {
    "openapi": true
  },
  "watch": true,
  "plugins": {
    "paths": [
      {
        "path": "./plugins",
        "encapsulate": false,
        "options": {
          "greeting": "{PLT_GREETING}"
        }
      },
      "./routes"
    ]
  },
  "server": {
    "hostname": "{PLT_SERVER_HOSTNAME}",
    "port": "{PORT}",
    "logger": {
      "level": "{PLT_SERVER_LOGGER_LEVEL}"
    }
  }
}
Create a Plugin
Locate the plugins folder:
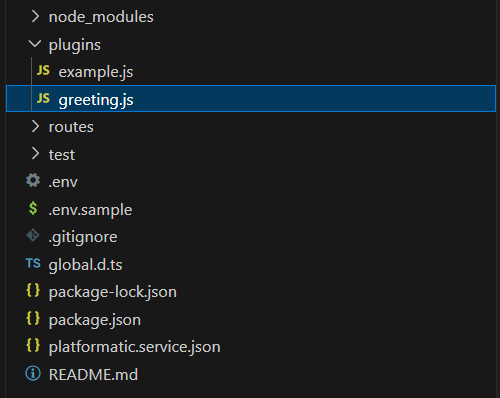
Create a new file called greeting.js and add the following code:
/// <reference path="../global.d.ts" />
"use strict";

module.exports = async function (fastify, opts) {
  fastify.decorate("sayHello", function sayHello(name) {
    return `${opts.greeting} ${name}!`;
  });
};
This code creates a sayHello function which takes one argument of the name. It also uses the greeting environment variable.
Add a New Route
Go to the routes folder:

Create a file hello.js with the following content:
/// <reference path="../global.d.ts" />
"use strict";

module.exports = async function (fastify, opts) {
  fastify.get("/hello", {
    schema: {
      querystring: {
        type: "object",
        properties: {
          name: { type: "string" },
        },
        required: ["name"],
      },
    },
    async (request, reply) => {
      return fastify.sayHello(request.query.name);
    }
  });
};
This route listens to /hello and expects a name query parameter.
Test the New Route
Save the files to restart the server. A new route /hello is available, and you can make a GET request to it:
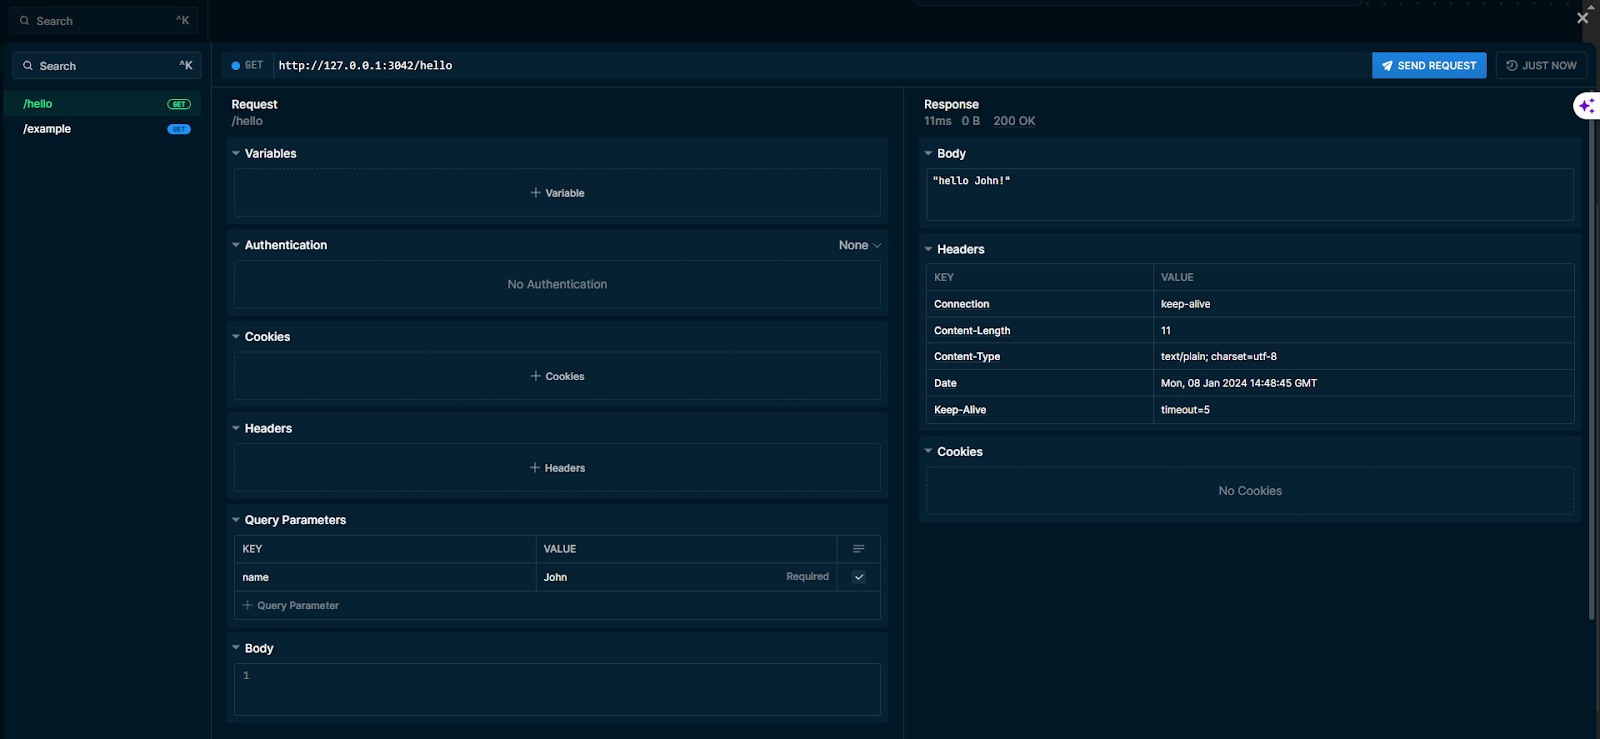
You can also make a cURL request on your terminal using this command:
$ curl 'http://127.0.0.1:3042/hello?name=John
This is the expected result as seen in the terminal:

Wrapping Up
In this blog, we have examined the subject of environment variables in Node.js applications, including the best practices.
By now, you should be more aware of how to manage the configuration secrets of your software for better security and performance.
Want to continue learning about Node.js? Sign up for our next masterclass where we will be exploring how to build modern Node.js & Fastify backends.